Buying terrain is great. But I can justify an hour of my time to save some money.

Firstly, get your mind right. Keep an eye out for stuff that can be used. Packaging materials are fantastic, a great number of very durable materials that are designed to take a bit of stress and survive. I work near to the IT administrator of my firm and he's a great repository for interesting packing equipment. This firebase was originally a piece of Polystyrene protecting a large piece of server kit.


Ingredients for the build
Cheap paint! House paint can be bought in bulk, acts as a great base layer, and also can work to compliment your questionable building skills. I have black, and I have white. My terrain will be a cityscape so I rarely need anything more than Concrete colours.Cheap glue! You know that really bad superglue that your friends bought you that you'd never dare use on your beautiful resin figures? Use that. Leftover quick drying cements? Use em up. Glue guns work great but might not be in every household.
Stuff! For the scenery itself, get your odd bits, your leftovers and your extraneous parts that you're hanging onto for that one special day. Its never going to come. Plates, wheels, cogs, levers, dials, sockets, pipes. Whatever you can find that looks utilitarian, use it.
For me, some golden resources come from the Guard Heavy weapon packs. Lascannon feeds and energy packs, mortar tubes, missile launcher mouths. Stands, handles, sandbags, rangefinders.
Timer
Start.
00:00
Build.
I made a basic bunker entrance with a scalpel, added a door, added some wiring and some battledamage. Done. Let it dry
07:45 Finished
Basecoat.
Big brush. Thinnish coats(Strong sunshine and quick dry paint helps)
22:51 Finished

Three coats.
Dark grey all over.
Grey on topmost third of building.
Light grey on doorway lintels, and anywhere exposed to the elements. Done.
34:07 Finished
Detail.
Pick it out quickly. Simple details will pop amongst the grey concrete. Flashes of red wiring. Bronze.Wash over to shade. Dry brush if needed.
41:12 Finished
Weathering.
Dab dab dab with a sponge for random effect. Black marks on areas most frequented.
46:50 Finished
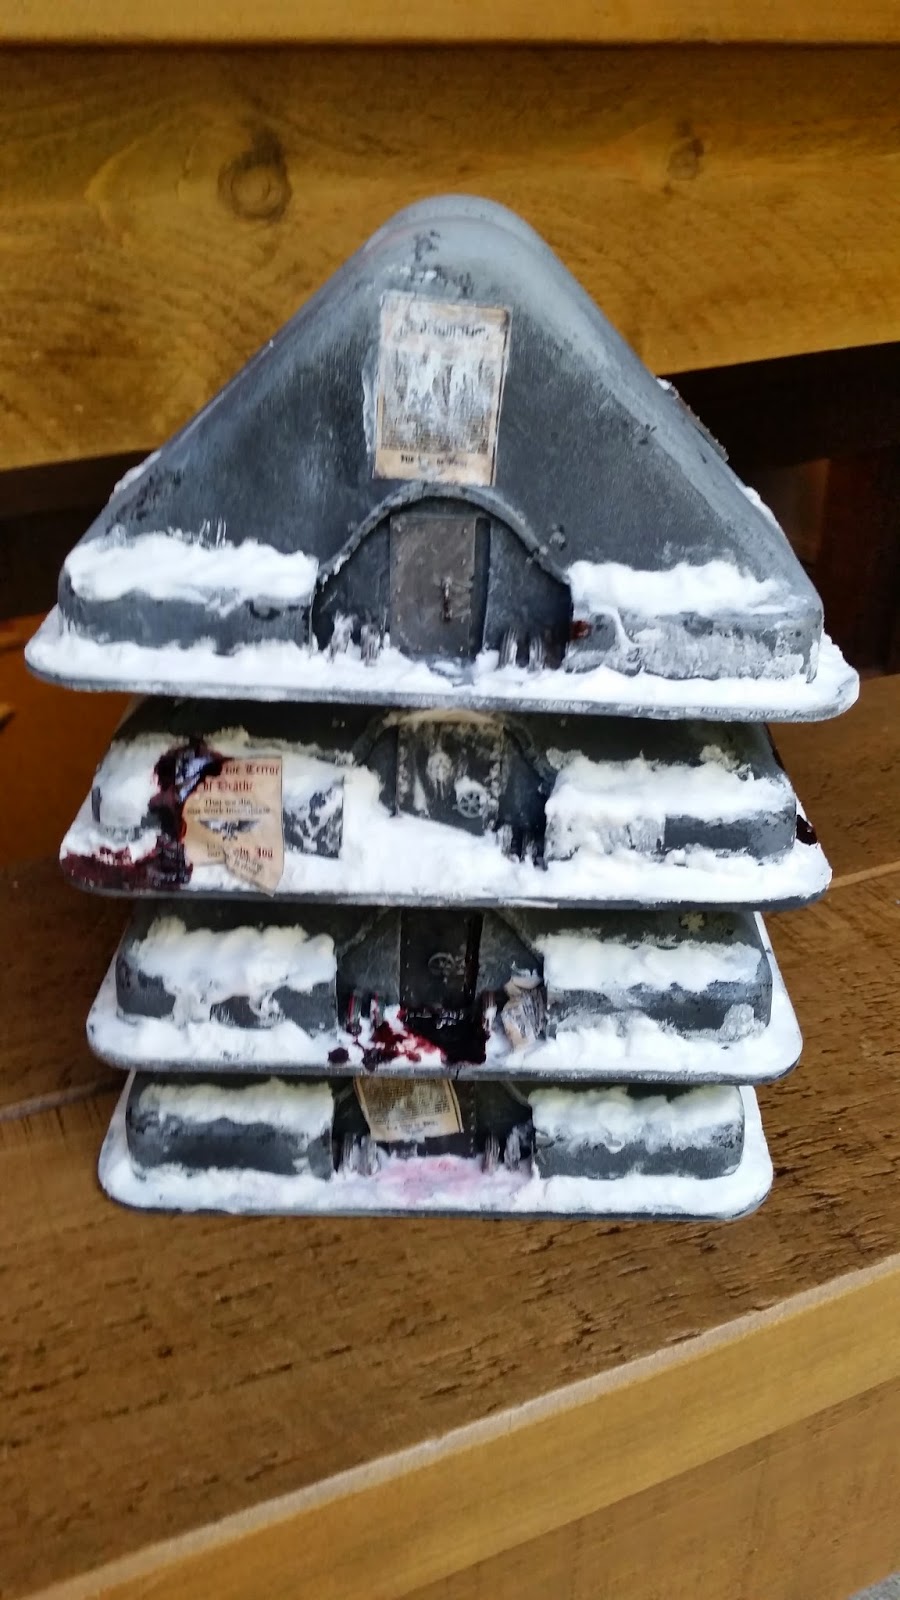
Snow.
Slosh. It'll dry later. A couple of snipped posters. Tamiya red and Abaddon black for Blood pools. Done.
57:11 Finished

Bring on the shanty town. Hope this helps.
No comments:
Post a Comment